SSH server
If you follow this SSH guide and configure your SSH, then you could automatically connect to new Alma 9 machines and it will start server automatically for you, no need for the tunnel. You may proceed with Step 5 using VS code Remote extension from you local machine
However, it will not save the state of the machine (not persistent) - use persistent terminal/session manager like tmux for background tasks.
Some source info here on VS code remote SSH
How to Make Use of Tunnels in Visual Code Studio
These instructions will go over how to setup the tunnel with VS Code on your remote machine. Source
Tunnels in VS Code allow remote access with fewer logins and better usability than NoMachine. You can edit files directly and use all VS Code extensions, even through a browser.
Important : Login into new Alma 9 machines (i.e. ssh starsub0x.sdcc.bnl.gov(where x= 1-7) instead of ssh rcas60xx or rterm -i )
Here’s how to set it up:
Log into SDCC: Use NoMachine to avoid repeated GitHub authentication. (or one can use ssh + tmux - needed for continous running of the tunnel)
ssh starsub02.sdcc.bnl.gov- Download VS Code Client within SDCC:
Navigate to your preferred directory (e.g.,
~/Downloads/) and run:curl -Lk 'https://code.visualstudio.com/sha/download?build=stable&os=cli-alpine-x64' --output vscode_cli.tar.gz tar -xf vscode_cli.tar.gz
- Start the Tunnel:
- Run
code tunnelor
./code tunneland accept the license terms.
- Log into GitHub on SDCC and authorize VS Code instance.
- Name your device, and get a
vscode.devURL for remote access.
- Run
- Connect Locally:
- Install VS Code on your local machine.
- Install the “Remote-SSH” extension and “Remote-Tunnels”
- Use the Remote Explorer to connect to your tunnel.
- Or start an SSH connection to server in
~/.ssh/config
Benefits
- Seamlessly access remote files and terminals.
- Utilize VS Code extensions for enhanced coding.
- Open files directly in VS Code without additional tools.
ROOT File Viewer

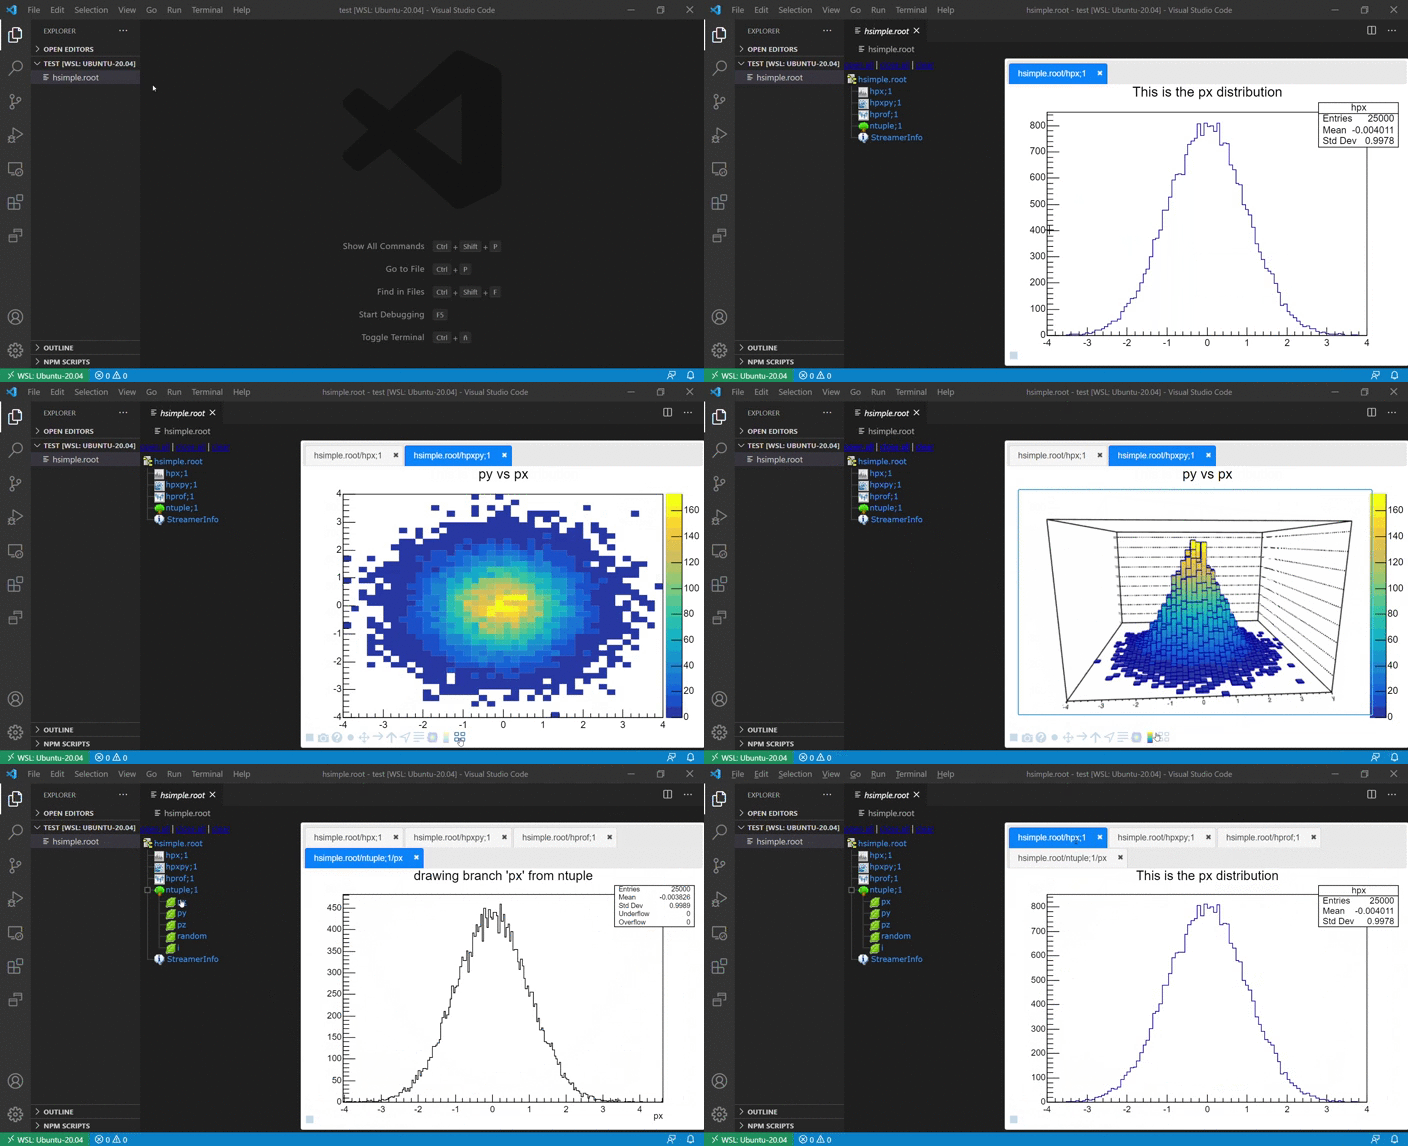
ROOT File Viewer allows you to see your ROOT Files directly in VS Code! This extension is for you if you want to view ROOT Files:
- with just a click, without having to type anything on a terminal
- anywhere, with no local ROOT installation required